
Blog
-

How To Die? How To Skip It?
Thoughts of How To Die – Fight with your Thoughts and read our blog on how to skip it Experiencing…
Read More » -

Sim Port | Learn Now |
How To Port? | Sim Port | Is your mobile number bothering you? Is it not available most of the…
Read More » -

How To Vote In India?
India is the world’s largest democracy. India overtook this title from the United States of America, in 1952. After holding…
Read More » -

How To Earn Money Online In India
How to Earn Money Online in India 2020 fundamentally changed our lives so Our way of living and Our way…
Read More » -
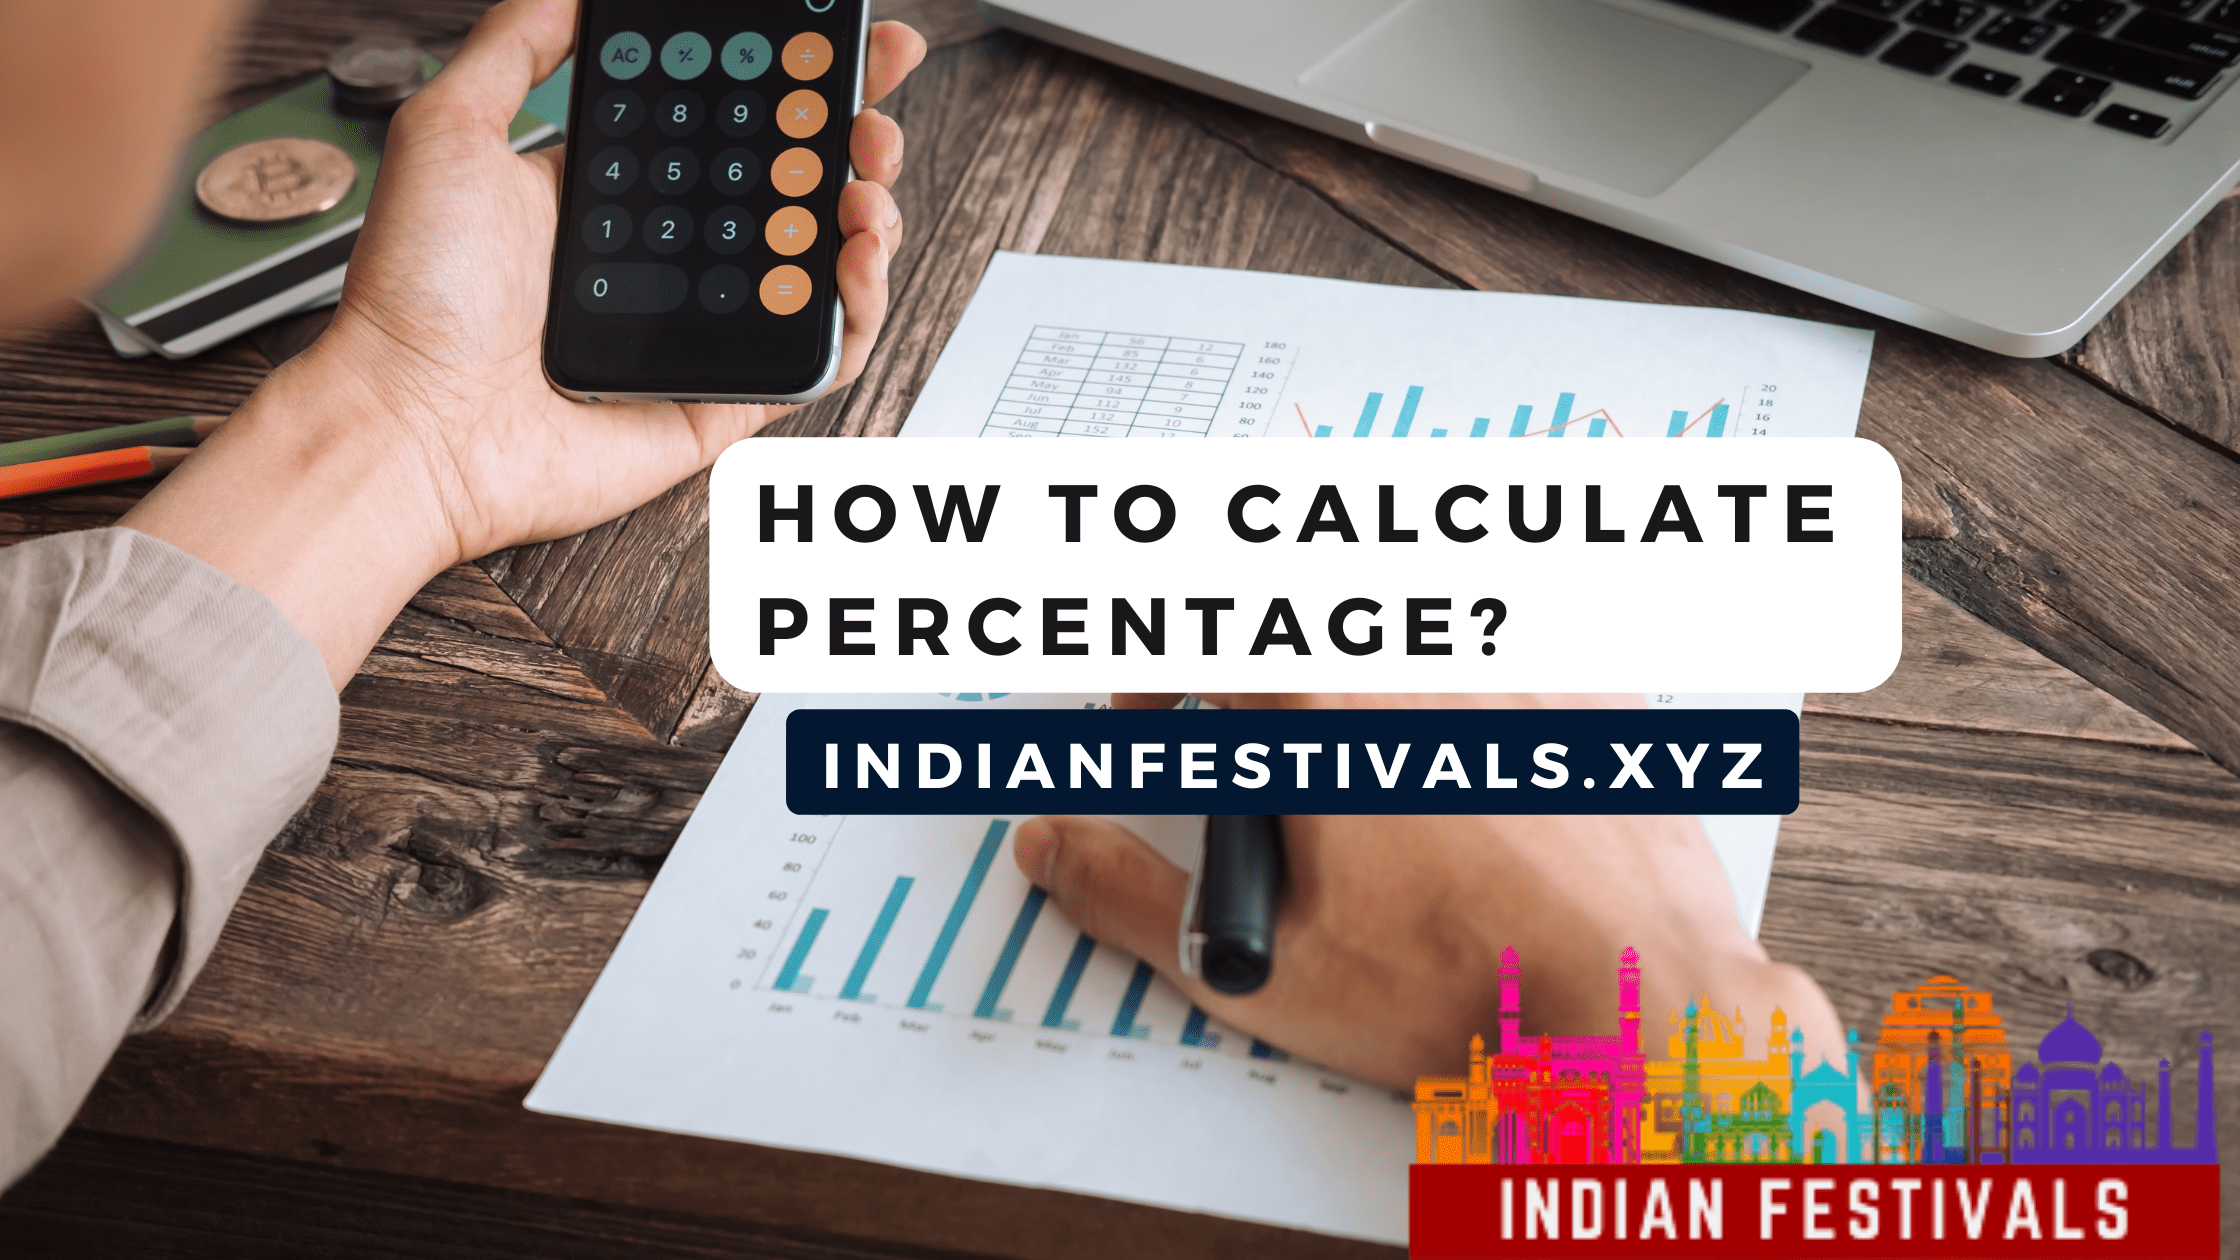
How To Calculate The Percentage
How to calculate the percentage of a number | How to calculate the percentage of profit | loss percentage formula…
Read More » -

How To Deactivate Your Instagram Account?
How to Deactivate your Instagram Account? Instagram is one of the most popular video and image-sharing platforms in the world.…
Read More » -

Rashi by Name | 12 राशि नाम की पूरी जानकारी
Rashi by Name | 12 राशि नाम की पूरी जानकारी | 12 Rashi by Name | rashi ka naam |…
Read More » -

How To Hide Apps
Welcome to Indian Festivals Blog of how to hide apps for android or in android? Vivo, samsung, apple, iphone, redmi, mi, oppo,…
Read More » -

How To Port Vodafone To Jio? 2 Method’s
Table of ContentsWhat is porting?About Reliance Jio : How to port vodafone to jioPorting to Jio: how to port vodafone to…
Read More »